Quarterdeck and forecastle rails
Both quarterdeck and forecastle rails needed to be cleaned and painted before put in place:


Finally, the assembled rails looked just fine


Stanchions
There are 58 stanchions to be assembled.

Unfortunately for me, they needed some cleaning and small adjustments, in order to fit into the holes on forecastle and quarterdeck rails

Before assembling them, I had to make sure the holes in the rails are clean to fit the stanchions

... and then, I started to glue them


Overall, the ship looked like this:


Rigging the Stanchions
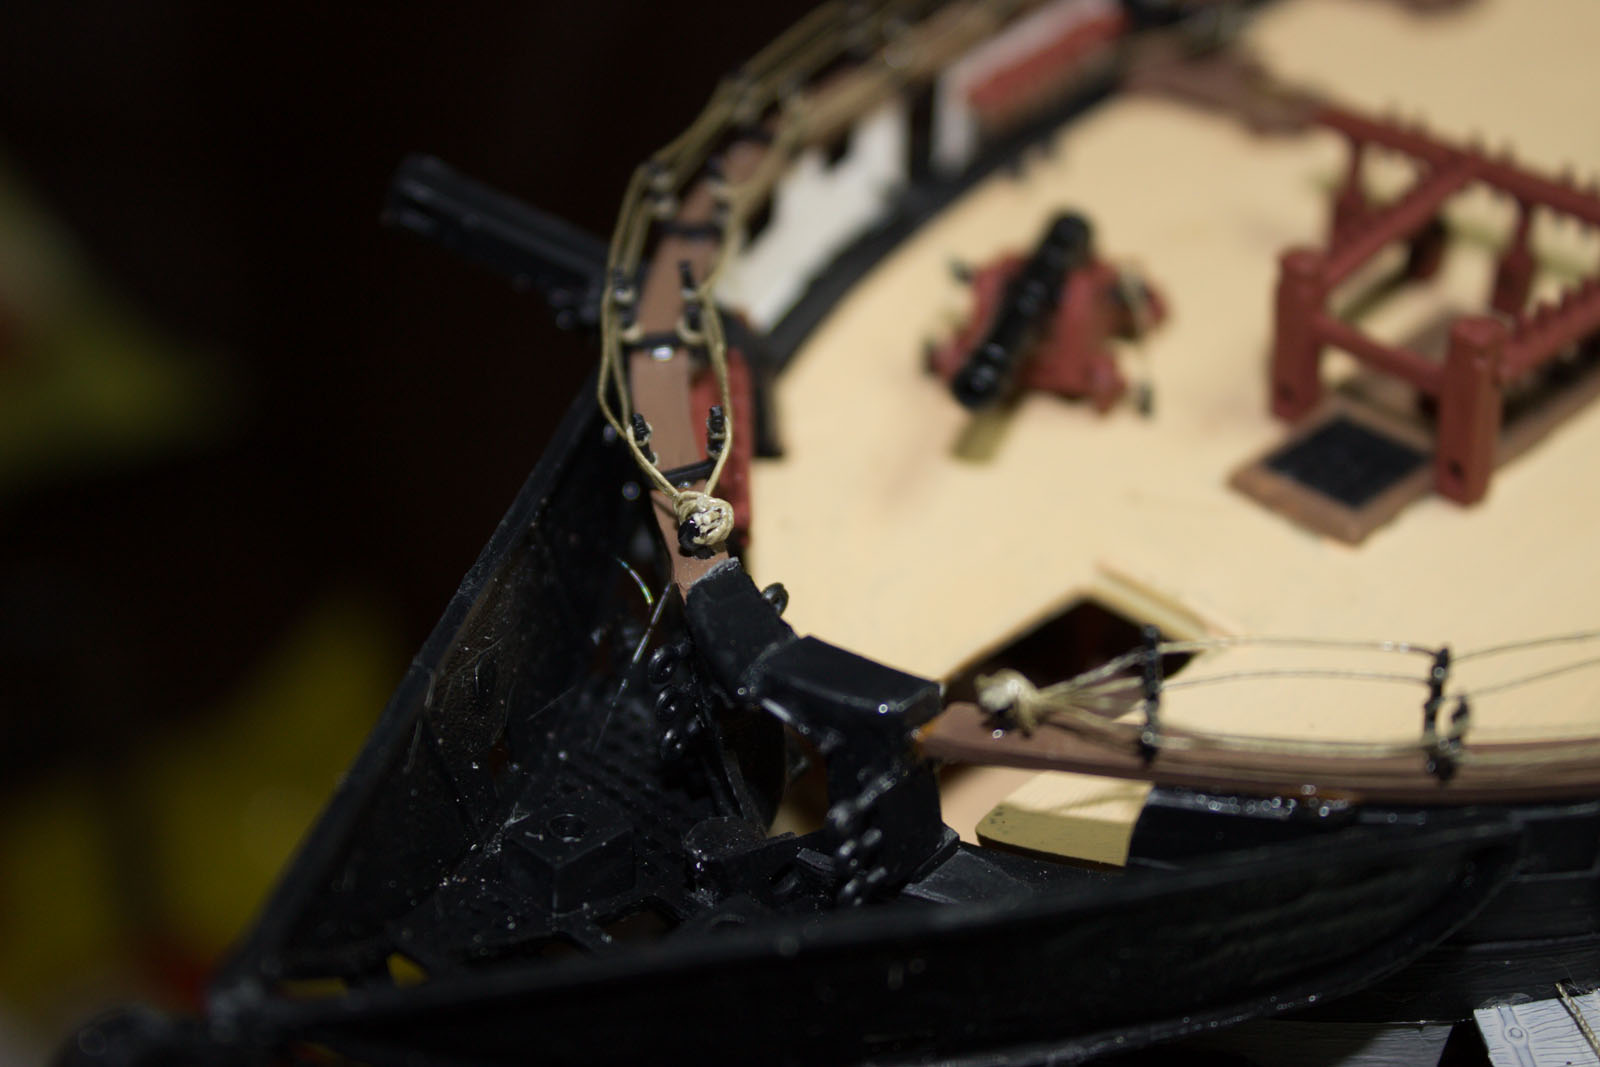
The final step, and the most delicate one, was rigging. It was more difficult than in the case of amidship rails, because the stanchions were easy to break with inappropriate thread tension, so I had to adapt my previous approach.
What I did was to make the initial knot, then a few loops, keep the thread tensioned, glue the loops, wait for drying, then continue with the next loops, until the last one. Some pictures from the process:


All the four threads from a rail section should end in an eyebolt. It is important to know that you should not knot each thread in the eyebolt, because it will prevent you to take all four threads through. I wasn't always lucky to be able to take all four easily through one eyebolt, so at some moment I had to improvise:

Final knot of all four threads in an eyebolt:


... and the rigging once the excess threads were cut off:


No comments:
Post a Comment