The assembly of the fore mast consists of four stages, presented below: the pieces preparation, the assembly and painting, mounting on the decks and deadeyes rigging.
Preparation of the Pieces
The mast has three separate segments
... and some additional pieces (the fore top, two crosstrees, two caps, a rail and two cleats):

Again, some of the pieces needed special attention when deburring and cleaning before painting, due to holes and extra material to be removed. Special case was the fore top, which looked really bad on the lower side:


Assembly and Painting
Since all the pieces of the mast needed to be painted in white, I decided to assemble all together, and apply the painting only after.So I started by gluing the two halves of the lower mast, paying special attention on positioning them in the right way, to obtain a straight, rather than curved mast (as usual, the problem of large plastic pieces, deformed a little).


... and then the two halves of the top mast:


Having the mast segments glued, I attached the fore top to the lower mast and the topmast

... then glued the fore cap in place, to straighten the mast assembled so far

Next was the top rail, which needed to be kept in the right position until the glue dried:


Before proceeding on extending the mast, I preferred to glue the topmast crosstree to the third mast segment: gallant mast.


... and only then mount them on the top mast.


While mounting the topmast cap, I realized there is a big hole remaining

... so I used putty to fill it.

The top gallant crosstree needed some "small adjustments" to fit in the place it should:

Having it in place, the final piece, the royal mast, was easy to mount, after few touches to fit in the crosstree hole.

So at this stage, I had a complete fore mast assembled, with few holes created during assembling, to be filled with putty:


Painting and Mounting on the Decks
Painting the mast was straight forward, since there was only one color to be used:
There was one step I had to do before mounting the mast on the deck: set the eight rigging blocks on the fore top, which was more convenient at this stage:

Do do this, I tied the end of the threads to four of them

... and pass the threads through the holes, then make the second knot to the other rigging block. Of course, all the knots were secured with a drop of glue, before trimming the excess threads.


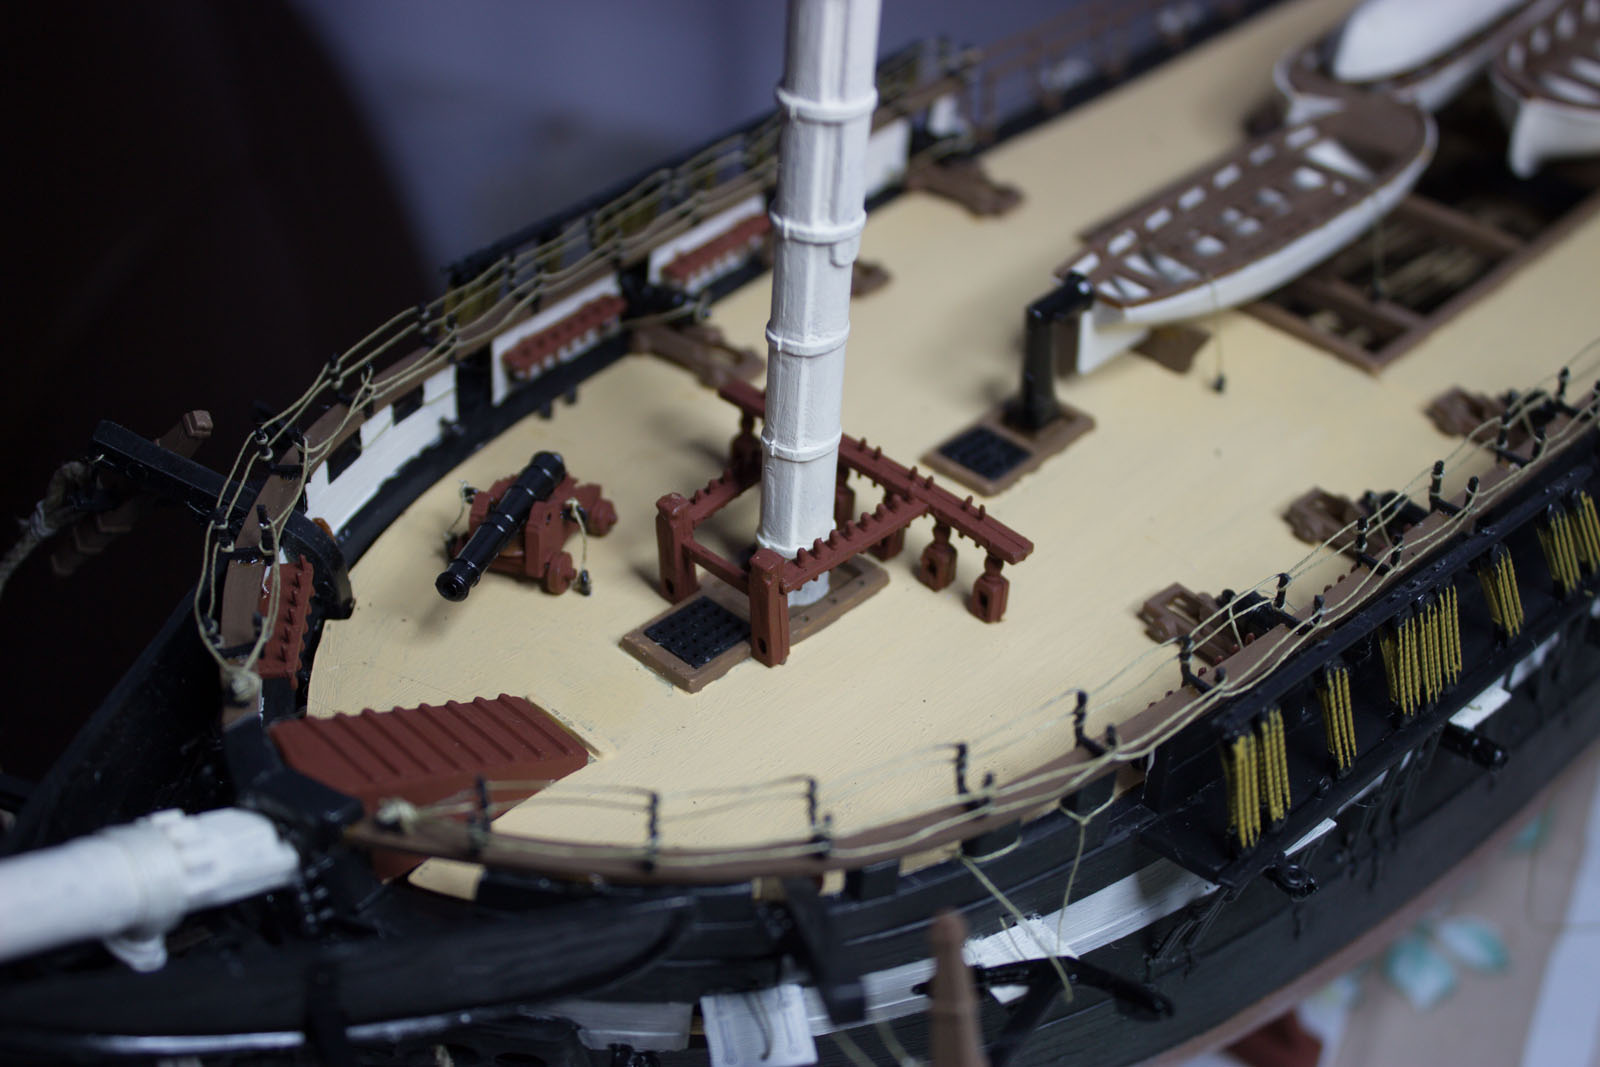
Last step: put the mast on deck. The mast base should go through the hole on spar deck and on the hole on gun deck, and, amazingly, it went through without any adjustments


Deadeyes Rigging
In preparation for the static rigging at a later stage, the deadeyes on the fore top needed to be prepared and rigged. I started by painting the ropes while the pieces were attached to the kit supports, and, since I will need them on the rest of the masts, I finished all the available deadeyes:


The second set of pieces needed were two futtock staves:

With all the needed pieces prepared and available, I started to prepare the rigging. The instructions mention to attach a 30cm thread to the deadeye in the middle, and a 8cm thread to the rest of the deadeyes (actually 12" and 3" but... I'm a metric guy).

Next step was to pass the threads through the corresponding holes on the fore top


... and then through the futtock stave.


The assembly instructions provide some distances to tie the side deadeye threads together, but I chose not to do a final tie yet. What I did was to lash the threads together, using a separate thread knotted around, with no glue yet, to allow me later, when doing the static rigging, to adjust the position of the knots and threads properly. What I finally got was an adjustable, flexible rigging.

Final Look
As I mentioned at the beginning of the post, the ship has some height now.


